Steps to Take to Fix Your Bathroom Or Kitchen Tap
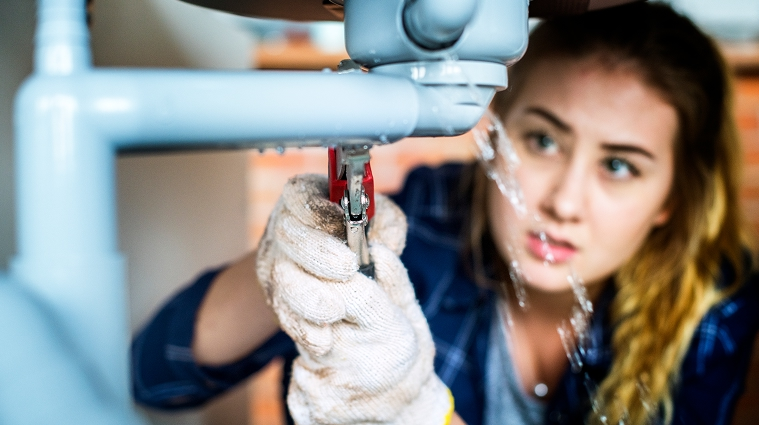
As a Kelowna homeowner, a leaking faucet isn’t just an annoyance; it can lead to higher water bills, water damage, and other issues if not resolved quickly. The good news is that, in many cases, a leaky faucet is typically a minor issue that can easily be resolved without help from a plumber.
In this article, we will go over what may be causing your leaky faucet and how to fix the problem depending on the type of faucet you have.
The Different Types of Leaking Faucets
When dealing with a leaky faucet, your first step should always be to disassemble the tap and investigate what may be causing the issue. When you go to do this, the steps you need to take are unique to the type of faucet you own.
Below, we go over the most common types of faucets and what to do when they spring a leak.
Compression Faucet
A compression faucet requires you to turn a knob or handle to control the flow, water pressure, and temperature of the water.
When a compression faucet leaks, you will need to follow these steps to disassemble it and identify the problem
- Turn off the water and disassemble the faucet.
- Use a small slotted screwdriver or utility knife to remove the decorative cap on the handle. The attachment screws should now be exposed.
- Remove the faucet’s handle screw with a screwdriver, and then pull the handle off the faucet.
- Unscrew the packing nut with a crescent wrench and then use an adjustable wrench to loosen the stem from the faucet body.
- Try to determine the source of the leak by looking at the different components.
Ball-Type Faucet
A ball-type faucet is a single-handle faucet that sits on top of a rounded base. To control the temperature and flow of the water, you simply lift and turn the handle to the left or right. With this type of faucet, it can be difficult to pinpoint the exact issue causing a leak, so it’s usually recommended that you replace the faucet altogether. Here’s how to do it:
- Use a pocket knife to pry off the small index cover from the side of the faucet. Loosen the hex head screw with a hex-key wrench and remove the handle.
- Use adjustable pliers to remove the cap and collar.
- Loosen the faucet cam and pull it out with the cam washer and rotating ball.
- Use needle-nose pliers to remove the rubber seats and springs.
- Place a new spring along with a rubber seat onto the tip of a pen, pencil, or other similar object and lower it down into the faucet.
- Repeat the above steps with the second seat and spring.
- Reinstall the stainless-steel ball along with a new rubber gasket and cam cap on top, making sure to align the keyway on the cap with the corresponding slot.
- Use your hands to tighten the top cap assembly on the faucet and a spanner wrench to tighten the nut.
4 Steps For Fixing a Leaky Faucet
Once you have identified the source of the leaky faucet, you can fix the issue depending on what is causing the leak.
- Worn Out Washer
If the source is a worn-out washer, unscrew the rubber washer from the bottom end of the stem to remove it. Replace the seat washer with a new one coated in plumber’s grease and reassemble the tap.
- Damaged O-Ring
If the O-Ring is the culprit, push the stem out of the packing nut and replace the O-ring with a new one coated in plumbers grease that matches the size of your faucet.
- Broken Seal
If the seals are damaged, they must be replaced. Fortunately, this is fairly simple to do. Just disassemble the faucet, clean and rinse the cylinder openings, replace the seal, and reassemble the tap.
- Broken Faucet Cartridge
A faucet cartridge helps control the flow and temperature of the water coming through the faucet. If you believe that the cause of your leaking faucet is an issue with the cartridge, you’ll need to replace the cartridge by following these steps:
- Turn off the water supply.
- Start disassembling the faucet following the instructions outlined earlier in this article
- Look for a threaded retaining clip holding the cartridge in place and use needle-nose pliers to remove it. Using the pliers, pull the cartridge straight up to remove it.
- Replace the cartridge with a new one. To do this, match the length of the old cartridge with the length of the replacement along with the stem end where the handle attaches.
- Reassemble the faucet and turn on the water.
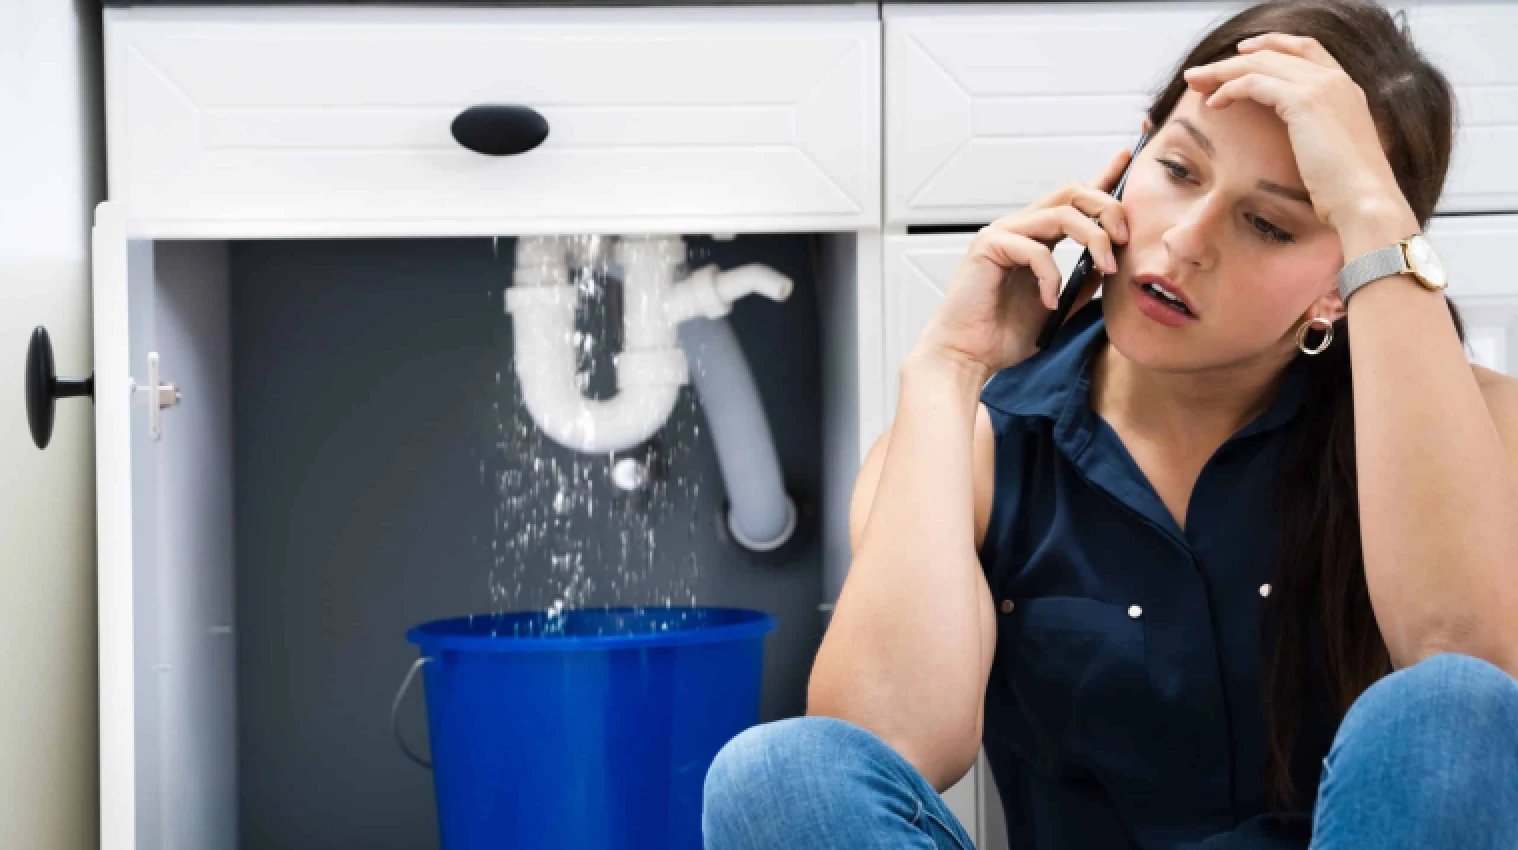
While a leaky faucet is usually a simple fix, sometimes the issue can be more complex and require help from a plumber. If you’ve attempted and failed to repair a leaky faucet yourself, give us a call.
Our team of licensed and experienced plumbers can assess your situation and come up with the best solution.
Call us today at 250-601-0000 or fill out a form on our website and we will be in touch ASAP.